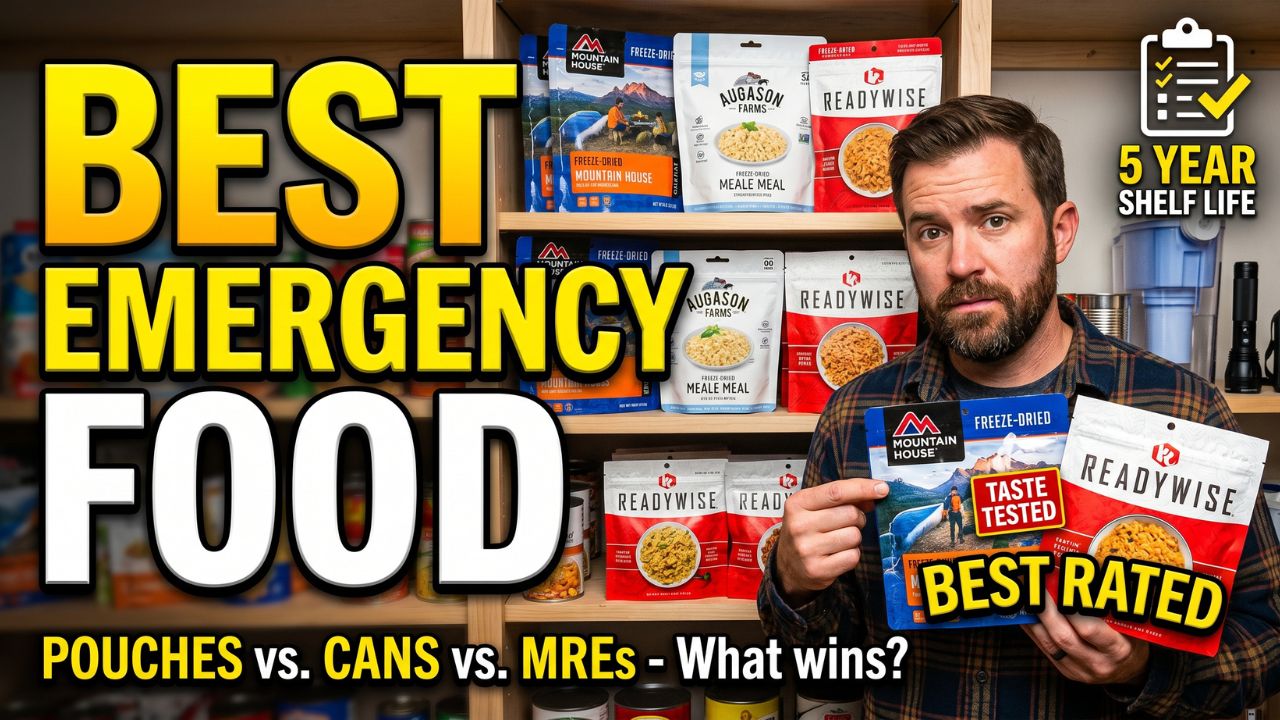
Best Emergency Food Supply – There’s a moment most people never prepare for — the power goes out, the roads flood, the store shelves empty — and suddenly the question “what’s in the pantry?” stops being casual and starts feeling urgent. I’ve been building and testing emergency food setups for years, and I can tell you straight: having the best emergency food supply isn’t about doomsday prepping or paranoia. It’s about sleeping better at night knowing your family is covered.
Whether you’re trying to figure out the best emergency food kits for a hurricane season, putting together a rotation shelf for a week-long power outage, or just doing the smart thing after a close call, this guide covers everything you actually need to know — from the most reliable long-shelf-life foods to caloric bars you can throw in a go-bag tonight.
What Really Separates Good Emergency Food From Shelf Filler
Let me be honest with you. Most people who build an emergency pantry do it once, feel satisfied, then forget about it for three years. They open it during a crisis and find expired crackers, leaking cans, and a protein powder they never liked.
 Easy Venezuelan Recipes at Home: The Arepa Recipe You’ll Actually Make Again
 12 High Protein Snacks That Actually Keep You Full (No Bland Chicken Required)
 12 Healthy Lunch Ideas for Work That Actually Keep You Full and Energized All Day
 10+ Soul Food Dinner Ideas That Will Make Your Table Feel Like Home
 Easy Summer Crockpot Recipes For Families
 Easy Summer Crockpot Recipes Kid Friendly
The best emergency food isn’t just about what tastes good or what’s cheap. It’s about three things working together: caloric density, shelf life, and practical usability under stress.
When you’re dealing with a real emergency — no power, limited water, kids asking when dinner is ready — you need food that requires minimal preparation, delivers real energy, and won’t make you miserable. A 2,000-calorie freeze-dried meal pouch means nothing if you can’t boil water to rehydrate it and there’s no fuel left.
The Three Pillars of a Reliable Emergency Food Plan
Caloric density: Your body needs energy under stress. Aim for at least 1,800–2,000 calories per person per day. Most pre-packaged emergency kits under-deliver here, so always read the fine print.
Water dependency: Foods that need cooking or rehydration are only useful if you have water. Always keep a mix of ready-to-eat and cook-required options.
Rotation-friendliness: The best supplies are ones you actually cycle through — eating and replacing — so nothing expires forgotten on a shelf.
Ingredients of the Best Emergency Food Supply: A Complete Breakdown
Think of your emergency food supply like building a kitchen from scratch — except this kitchen has to work with no electricity, possibly no running water, and needs to feed people who are already stressed.
Here’s a structured breakdown of what belongs in a well-rounded supply:
Best Emergency Food Supply Core Food Categories
| Food Type | Shelf Life | Notes / Best Uses |
|---|---|---|
| Freeze-dried meals (pouches) | 25–30 years | High calorie, full meals; need hot water |
| Canned beans and legumes | 3–5 years | Protein-rich; eat cold if needed |
| Canned fish (tuna, salmon) | 3–5 years | Ready to eat; high protein |
| Canned fruits and vegetables | 2–4 years | Nutrition + morale during long outages |
| White rice (sealed mylar) | 25–30 years | Caloric base; needs water and heat |
| Instant oatmeal packets | 2–3 years | Easy breakfast; just add hot water |
| Peanut butter (commercial jars) | 1–2 years | High fat and protein; no prep needed |
| Emergency food bars (2,400 cal) | 5–7 years | Best for go-bags; no prep required |
| Hard crackers / hardtack | 2–5 years | Pairs with canned goods; compact |
| Honey (sealed) | Indefinite | Energy source; never truly expires |
| Salt, multivitamins, electrolytes | 5–10 years | Often overlooked; absolutely essential |
| Instant coffee / tea | 2–4 years | Morale matters more than people admit |
Quick Facts: Emergency Food Planning
| Category | Recommendation |
|---|---|
| Minimum supply | 72 hours (3 days) per person |
| Comfortable supply | 2 weeks per person |
| Serious preparedness | 3 months per household |
| Calories per person/day | 1,800–2,500 (active stress increases needs) |
| Water per person/day | 1 gallon (drinking + minimal cooking) |
| Storage temperature | Below 70°F, away from light and moisture |
The Best Emergency Food Kits and Buckets Worth Buying
If you’d rather buy ready-made than build from scratch, you’re not alone. The best emergency food supply kits do the caloric math for you and come in stackable, long-shelf-life containers. But they are not all equal — not by a long shot.
What Makes a Kit Actually Good
The first thing I check is actual calories per serving vs. stated servings. Some brands list 100-calorie “servings” and claim their kit feeds a family of four for a month. That math doesn’t survive scrutiny or hunger.
Easy Venezuelan Recipes at Home: The Arepa Recipe You’ll Actually Make Again
12 High Protein Snacks That Actually Keep You Full (No Bland Chicken Required)
12 Healthy Lunch Ideas for Work That Actually Keep You Full and Energized All Day
10+ Soul Food Dinner Ideas That Will Make Your Table Feel Like Home
Easy Summer Crockpot Recipes For Families
Easy Summer Crockpot Recipes Kid Friendly
The second thing is variety. Eating the same freeze-dried chicken stew for fourteen days does something to a person. A good kit rotates flavors and textures — breakfast options, soups, entrees, snacks.
Third is prep requirements. The best emergency food supply kits include options that require no water and no heat, not just freeze-dried items that demand both.
Top-Performing Emergency Food Categories by Use Case
For go-bags and evacuation (best emergency food bars): S.O.S. Rations, Datrex, and Mainstay bars are the three names that consistently come up. They’re Coast Guard-approved, calorie-dense (2,400 calories per bar block), and designed to survive heat and cold. They taste like a slightly sweet shortbread — not gourmet, but edible without complaint when you need them.
For home sheltering (best emergency food bucket): Companies like Augason Farms, ReadyWise, Mountain House, and Legacy Food Storage dominate this space. A 30-day bucket from a reputable brand typically runs $150–$300 and contains freeze-dried and dehydrated meals for one adult. The best emergency food bucket options are sealed in nitrogen-flushed pouches inside food-grade plastic pails — this matters for shelf life.
For Canadian preppers (best emergency food supply Canada): Canadian winters create different needs — higher caloric burn, heating fuel dependency, shorter growing seasons for supplementation. Companies like Costco Canada (Augason Farms), Valley Food Storage, and local bulk-foods distributors serve this market well. Shipping regulations and import duties mean US-focused brands sometimes cost more north of the border, so checking domestic suppliers first is worth your time.
What Reddit preppers actually recommend (best emergency food supply reddit): The r/preppers and r/bugout communities lean heavily practical: Costco canned goods rotated on a FIFO shelf, Mountain House pouches for taste, and Augason Farms buckets for long-term storage. The community consensus is that brand-name freeze-dried kits taste better but DIY canned goods give more calories per dollar. Both approaches are valid.
What’s your current setup — did you buy a pre-made kit or build your own supply from scratch? Share in the comments below; I’d genuinely love to see what’s working for people in different regions.
Building Your Own Best Emergency Food Supply: Step-by-Step
Here’s how I’d build a solid two-week supply for a family of four, starting from zero.
Step 1: Calculate your caloric needs. Multiply 2,000 calories × number of people × number of days. For four people, two weeks: 112,000 calories minimum. Write that number down. It’ll feel large, but it’s manageable when you shop with a plan.
Step 2: Build your water supply first. Before a single food item, you need water. FEMA recommends one gallon per person per day. For four people, two weeks, that’s 56 gallons — stored in food-grade containers or commercial water bricks. Nothing on this list matters without it.
Step 3: Stock your caloric backbone. White rice in sealed mylar bags with oxygen absorbers, dried beans, canned tuna, and peanut butter make up the caloric backbone. These are cheap, widely available, and store for years. Buy enough to cover 60% of your caloric needs.
Step 4: Add variety and nutrition. Canned vegetables, fruits, and soups fill the nutrition gaps and make eating psychologically bearable. Stress depletes vitamins — especially B vitamins and vitamin C. Include multivitamins explicitly.
Step 5: Add ready-to-eat convenience items. Emergency bars, crackers, nut butters in single-serve packets, and instant oatmeal cover the moments when you have no fuel or water available for cooking.
Step 6: Don’t forget the tools. A manual can opener (buy two), a camping stove with extra fuel canisters, matches and lighters, and basic utensils. The best emergency food supply in the world is useless if you can’t open or cook it.
Step 7: Label, date, and rotate. Every item goes in with a date. Set a calendar reminder every six months to check expiration dates and cycle older items into your regular cooking. This is the only way to avoid waste and always have fresh supplies.
Pro Tips for Long-Term Emergency Food Storage (And Mistakes That Cost People Dearly)
I’ve made enough mistakes building emergency supplies to fill its own article. Let me save you the learning curve.
Store by the FIFO method (First In, First Out). Put newest items at the back, eat from the front. This applies to every can and every pouch. Sounds obvious — almost nobody actually does it.
Temperature is more important than the container. A mylar bag of rice stored in a garage that reaches 100°F in summer will degrade in 5–7 years instead of 25. Keep your storage area consistently below 70°F and away from direct light. A basement corner, climate-controlled closet, or interior room without exterior walls works well.
Don’t over-rely on freeze-dried meals. They’re wonderful, but they all require water — usually hot water — for rehydration. If your water supply is compromised, your entire freeze-dried inventory becomes useless. Balance is everything.
Sodium is a hidden problem. Many canned and packaged emergency foods are extremely high in sodium. In a crisis with limited water, high sodium intake accelerates dehydration. Look for low-sodium canned options where available, and prioritize water intake.
Test your food before you need it. Cook one emergency meal per month using only your emergency supplies and equipment. You’ll discover that the camping stove you bought runs through a canister faster than expected, or that your family won’t eat the freeze-dried chili no matter how hungry they are. Better to know now.
Include comfort foods intentionally. Hard candy, instant cocoa, a small jar of Nutella — these aren’t frivolous. In a multi-day emergency, morale is a real resource. Children especially need familiar, comforting foods when everything else feels uncertain.
Best Emergency Food Variations: Dietary Restrictions, Climate, and Special Needs
Not every household runs on the same dietary requirements, and a one-size-fits-all emergency kit often fails the people who need it most.
Vegetarian and Vegan Emergency Supplies
Canned beans, lentils, chickpeas, peanut butter, nuts, seeds, dried fruit, canned coconut milk, and rice form a complete and genuinely nutritious plant-based emergency pantry. Companies like Thrive Life and Augason Farms offer specific vegetarian freeze-dried lines. Watch vitamin B12 — include a supplement explicitly.
Infant and Young Child Considerations
Powdered infant formula with a long shelf life (and manual preparation capability) is non-negotiable if you have a baby. For toddlers, pouched pureed foods store well and are calorie-efficient. Include familiar snack foods — familiar flavors reduce stress responses in small children during disruptions.
Elderly and Medical Dietary Needs
Low-sodium, low-sugar, and texture-modified options matter for elderly family members and those with specific health conditions. Pre-portioned, easy-to-open packaging is also important when mobility or grip strength is limited.
Pet Emergency Food
One of the most overlooked aspects of emergency food planning — your pets need a separate 2-week supply too. Canned pet food stores well and most pets will eat it without adjustment. Include pet medications in your kit.
Cold-Climate Adaptations (Including Canada)
In cold climates, your body burns more calories to maintain core temperature. Increase your caloric targets by 20–30% for winter emergencies. Fat-dense foods — peanut butter, nuts, olive oil in sealed containers — become even more valuable. Fuel for cooking is critical; propane performance degrades below -10°F, so consider butane-propane blends rated for low temperatures.
How to Store, Rotate, and Actually Use Your Emergency Food Supply
Buying it is only half the job. The other half is storing it correctly and knowing how to use it when the time comes.
Storage Best Practices
Keep emergency food in a location that is:
- Cool (below 70°F / 21°C year-round)
- Dry (below 60% humidity)
- Dark (away from UV light)
- Away from strong-smelling household chemicals (food absorbs odors through packaging over time)
- Accessible but not in a high-traffic area where packaging gets damaged
Use food-grade plastic bins, mylar bags with oxygen absorbers for bulk dry goods, and original sealed cans for commercially canned items. Label everything with the purchase date and “use by” date in marker that won’t fade.
Rotation Schedule
Every 6 months: do a full inventory check. Pull anything expiring within 6 months into your regular kitchen rotation and replace it with fresh stock. This turns your emergency pantry into a living system rather than a forgotten static pile.
Every year: inspect physical containers for rust, swelling (a sign of bacterial contamination in cans — never eat from a swollen can), punctures, or pest damage.
Cooking Without Power: Key Methods
- Propane or butane camp stove: Most versatile; best for most scenarios
- Wood fire / fire pit: Slowest but fuel is often available; requires ventilation
- Solar oven: Effective in sunny climates; zero fuel cost; weather-dependent
- No-cook options: Always maintain a portion of your supply that requires zero heat or water
Serving and Morale During an Emergency
Eat together when possible. Consistent mealtimes create psychological structure during disruption. Serve food on real plates if you can; it sounds trivial but it signals normalcy. Involve children in simple food preparation tasks — it gives them a sense of control when the situation feels out of their control.
What’s the one comfort food you’d want stocked in your emergency supply? Drop it in the comments — I’m genuinely curious what people prioritize.
Frequently Asked Questions About Emergency Food Supplies
A Note on Preparedness as a Long-Term Habit
Building the best emergency food supply isn’t a one-weekend project. It’s a habit that compounds over time. Start with three days. Add to it over a few months until you have two weeks. If it feels manageable, keep going.
The families who handle emergencies best aren’t the ones who panicked and bought everything at once after a close call. They’re the ones who quietly, consistently, built a supply over a year — rotating it into daily cooking, knowing exactly what they have, and never feeling that spike of anxiety when the weather forecast turns ugly.
According to the Centers for Disease Control and Prevention (CDC), preparedness reduces both physical and psychological harm during disasters. And the USDA Food Safety and Inspection Service provides clear guidance on food dating, shelf life, and safe storage that’s worth bookmarking as you build your supply.
Start somewhere. Start tonight if you can. The best emergency food is the food that’s actually there when you need it.